Creating, Editing, and Deleting Bills
The Finance module includes the ability to create and manage bills. Along with the ability to apply payments to the bills.
Creating a Quote
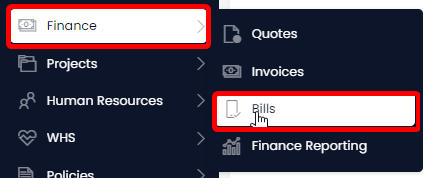
- Navigate to the Finance > Bills
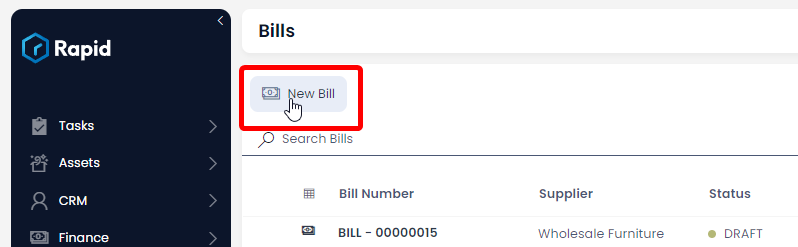
- Click on New Bill.
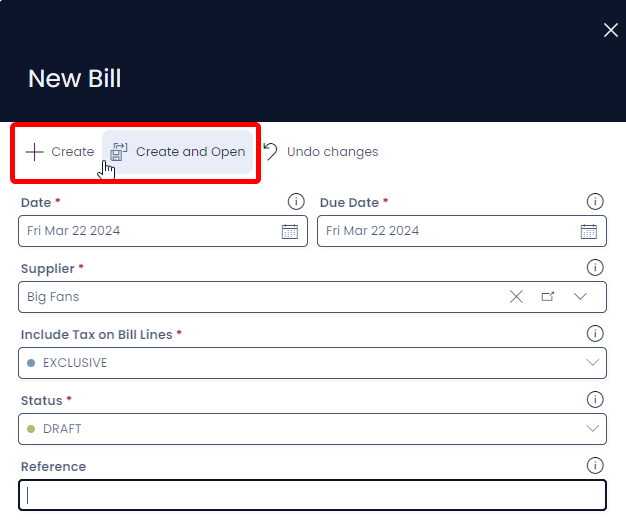
- Enter all relevant details
Required Fields
The following fields are required: Date, Customer, Include Tax on Bill Lines, and Status
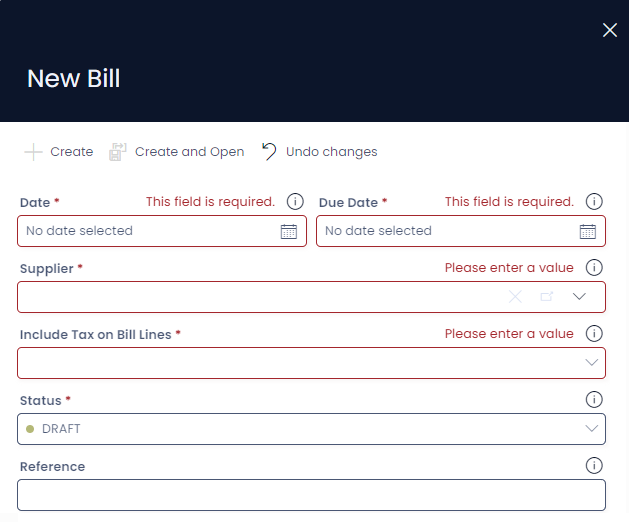
- Click on + Create or Create and Open.
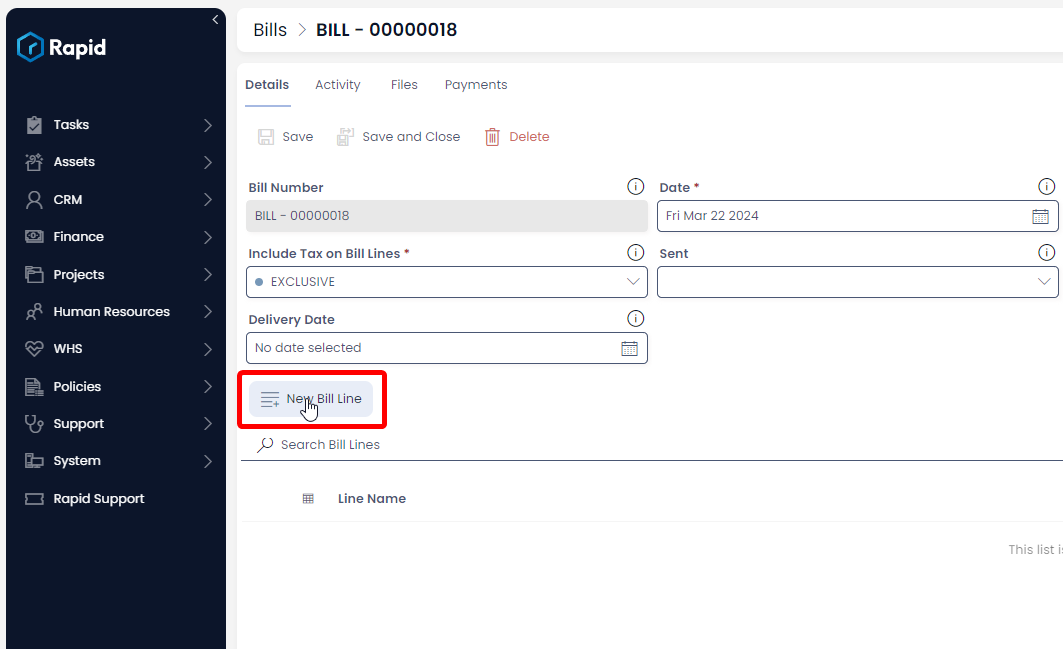
- Halfway down the page click New Bill Line. (This is where you add all the individual line items).
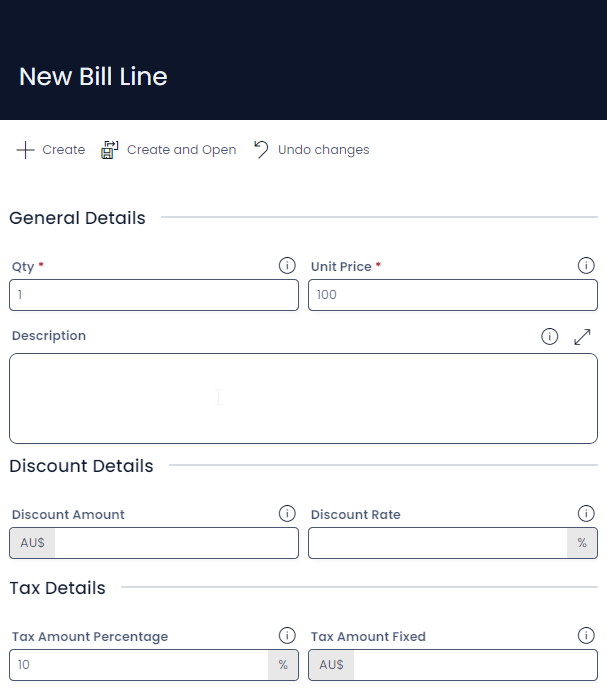
- Enter all relevant details
Bill Lines
- The following fields are required: Qty and Unit Price
- By default, there is a 10% Tax rate on Bill lines to account for GST, this can be changed to no tax (NA), a fixed tax amount (Fixed), or a fixed tax amount per unit (Fixed per Qty) by adjusting the choice in the Tax Category Field.
- A discount can be applied on each line item as a fixed amount (Discount Amount) or as a percentage (Discount Percentage)
- Click + Create or Create and Open
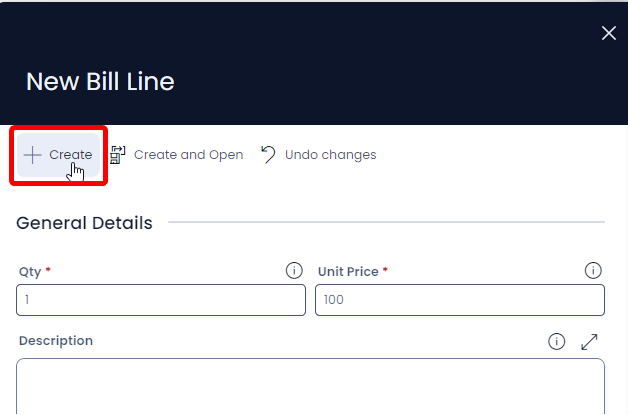
- Follow steps 5 – 7 for each additional bill line you wish to create.
Editing a Bill
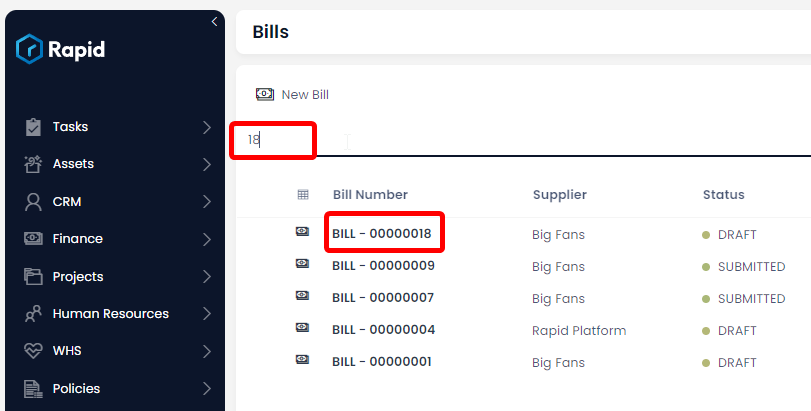
- Navigate to the Finance > Bills
- Open the bill you wish to edit either by scrolling through the list or using the search bar.
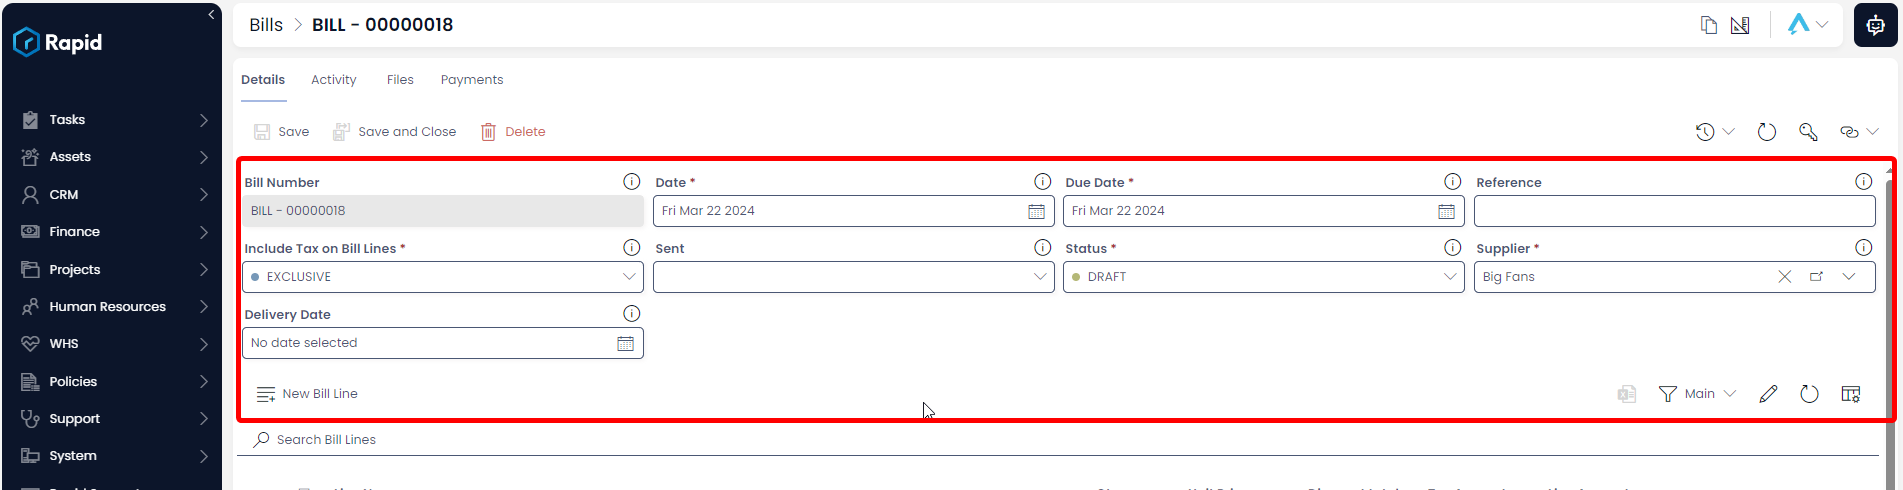
- Edit any relevant fields on the bill page as needed.
Editing Bill Lines
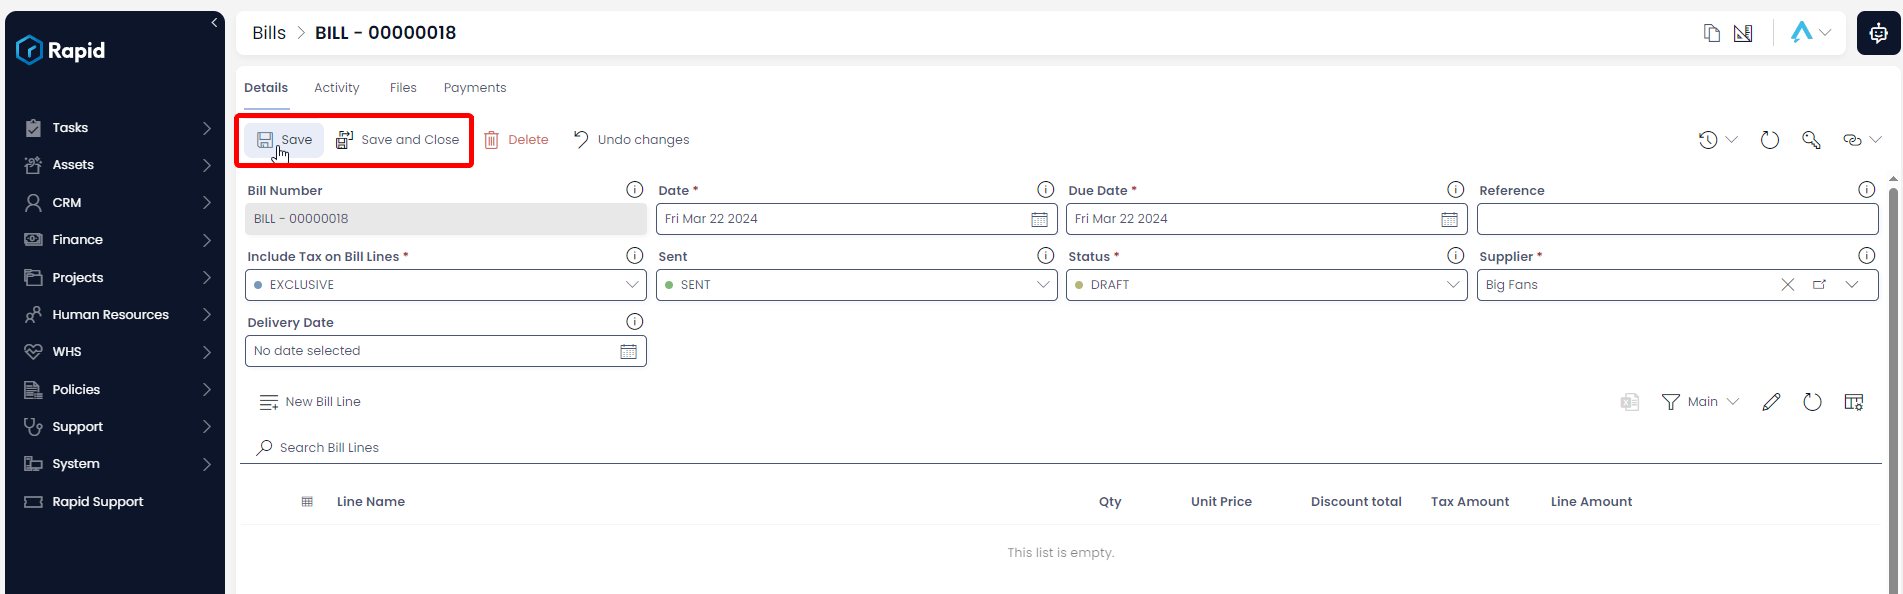
If you wish to edit the bill lines simply find the bill line you wish to edit. Click on the title, edit the any relevant fields, and then press Save and Close.
- Once you have finished editing press Save or Save and Close
Deleting a Bill
It is not recommended to delete a bill instead, change its status to VOIDED. This way you can maintain a record of all Bills.
However, if you need to delete a Bill due to incorrect data entry or a duplicate entry, you can do so as described below.
- Navigate to the Finance > Bills
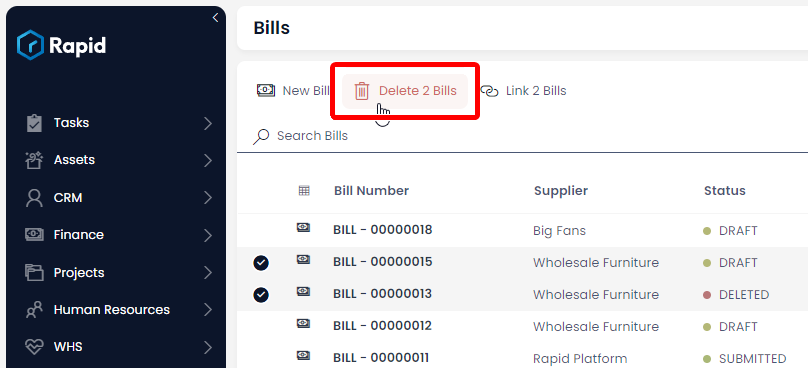
- Select the bills you wish to delete by pressing their selection circles, or clicking and dragging across multiple rows

- Press Delete X Bills